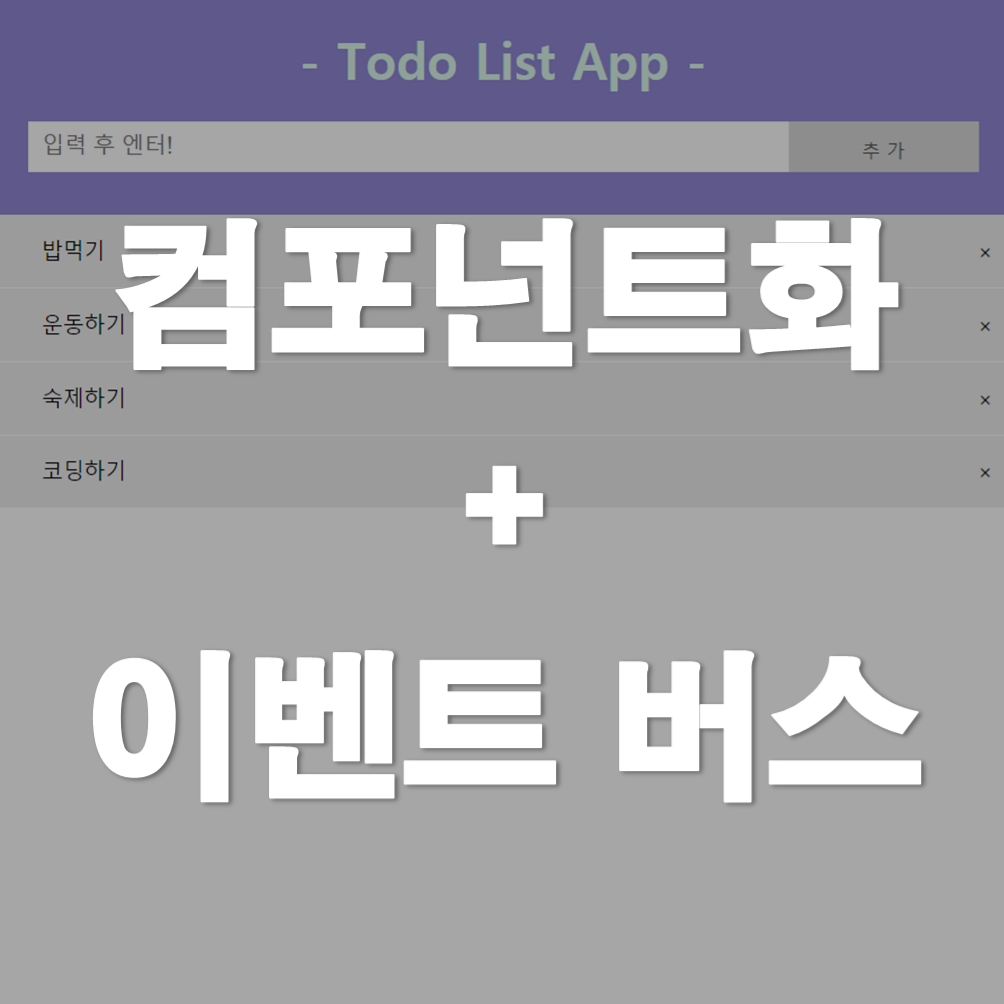
컴포넌트와 이벤트 버스를 이용한 TodoList
[Vue.js] Vue로 구현한 TodoList.app 예제
Vue로 구현한 TodoList.app 예제 See the Pen [Vue.js] TodoList.app by junheeleeme (@junheeleeme) on CodePen. Vue.js를 공부하면서 개인적으로 메모앱을 만들려고 일단 포스팅을 했지만.. 아직 완성하지도 못..
juni-official.tistory.com
이전에 구현했던 TodoList 예제를 컴포넌트화 + 이벤트 버스를 이용하여 'list-component'와 'input-component' 사이에 정보를 교환할 수 있도록 다시 코드를 작성

1. 이벤트 버스 객체 생성
<script>   /*  1. 이벤트 버스 객체 시작 */
    var eventBus = new Vue();
</script> <!-- 1. 이벤트 버스 객체 끝 -->
2. list-component 와 template 작성
<template id="list-template"><!-- list-component 템플릿 시작 -->
<ul id="todolist">
<li v-for="a in todolist" v-bind:class="on(a.done)" @click="doneToggle(a.id)">
<span>{{a.todo}}</span>
<span v-if="a.done">(완료)</span>
<span class="close" @click.stop="deleteTodo(a.id)">×</span>
</li>
</ul>
</template> <!-- list-component 템플릿 끝 -->
<script> /* list-component 시작 */
Vue.component('list-component',
{
template : "#list-template",
created : function(){
eventBus.$on('add-todo', this.addTodo);
},
data : function(){
return{
todolist : []
}
},
methods : {
on : function(done){
if(done){
return {on:true};
}
else{
return { on:false};
}
},
addTodo : function(todo){
if(todo != ""){
this.todolist.push({id:new Date().getTime(), todo : todo, done:false});
}
},
doneToggle : function(id){
var index = this.todolist.findIndex(function(item){
return item.id === id;
})
this.todolist[index].done = !this.todolist[index].done;
},
deleteTodo : function(id){
var index = this.todolist.findIndex(function(item){
return item.id === id;
})
this.todolist.splice(index, 1);
}
}
})
</script> <!-- list-component 끝 -->
3. input-component 와 template 작성
<template id="input-template">  <!-- input-component 템플릿 시작 -->
    <div>
        <input type="text" class="input" type="text" id="task" v-model.trim="todo" placeholder="입력 후 엔터!"
         v-on:keyup.enter="addTodo">
         <span class="addbutton" v-on:click="addTodo">추 가</span>
    </div>

</template>                             <!-- input-component 템플릿 끝 -->

<script>    /* input-component 시작 */
    Vue.component('input-component',
    {
        template : "#input-template",
        data : function(){
            return { todo : ""}
        },
        methods : {
            addTodo : function () {
                eventBus.$emit('add-todo', this.todo);
                this.todo = '';
            }
        }
    }
)
</script>   <!-- input-component 끝 -->
4. HTML 작성
<!-- HTML 영역 시작 -->
    <div id="todolist">
        <div id="header" class="header">
            <h2>- Todo List App -</h2>
            <input-component></input-component>
        </div>
        <list-component></list-component>
    </div>
<!-- HTML 영역 끝 -->
- 결과 -
See the Pen [Vue.js] 컴포넌트와 이벤트 버스를 이용한 TodoList by junheeleeme (@junheeleeme) on CodePen.